


#2 It's just getting worse...
It has to get worse before getting better

So, some time has passed, and if you thought I was gone, well, you were wrong. A lot has been done, and progress has been made. Not the kind of progress where there is something impressive to show off yet, though. It's the kind where things seem to get worse with every step I take. But hey, that's to be expected, right? Still, I am determined. I can see the end result in my head, and I'm not stopping.
This time, it's going to be more pictures than words; gotta share so much since my last update. Let's dive in.
PLAN FROM THE LAST TIME.
Find a skilled welder to fix all the rust issues (we have structural rust—yay!).
Re-insulate all the damaged wiring.
Remove the sound insulation from the floor.
Reinstall soundproof insulation after welding.
Replace the heater and A/C evaporator.
Clean everything.
Deep-clean and restore the carpet.
Deep-clean and restore the seats.
Fix the cracked dashboard.
Consider installing a sound system.
Restore all plastic trims (everything is damaged).
Deep-clean the car ceiling.
Let's get started. Grab a beer, settle in, and let's dig into this rust-filled journey.
WE FOUND METAL IN YOUR RUST!
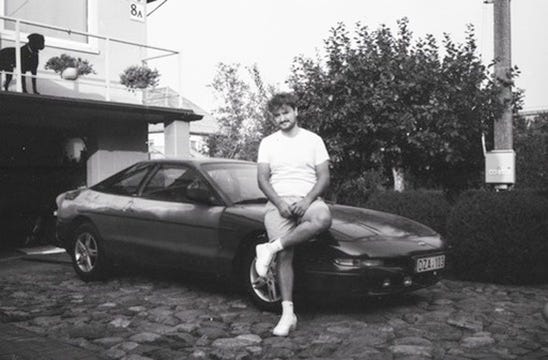
The big day finally arrived—time to take "Cherry" to the doctor for some structural repairs. Getting her to the garage was already an adventure since it was her first real meter on the road in a long while. Seeing her out in daylight again was a strange mix of pride and pity.


We went to a garage that was distant from the city I left the car and… Waited…
The welder called the next day with the first round of news: there were no repair parts for Cherry. Everything would have to be custom-made. His first step was to sandblast the floor from underneath and inside. That opened up a whole new world of rust and structural damage. The good news was that Cherry had pipe bars inside, saving her structural integrity. Take a look at some pictures to see how everything looked.


So, as you can see, the car has seen better days. :) But all in all, it’s nothing that can’t be fixed. The welder took around three weeks to complete everything. Keep in mind that he had to fabricate most of the repair parts himself. We didn’t have a donor car because there wasn’t anything in the junkyard with the parts we needed. All in all, everything went smoothly, but we ran into two issues: the doors and the fuel filler neck.
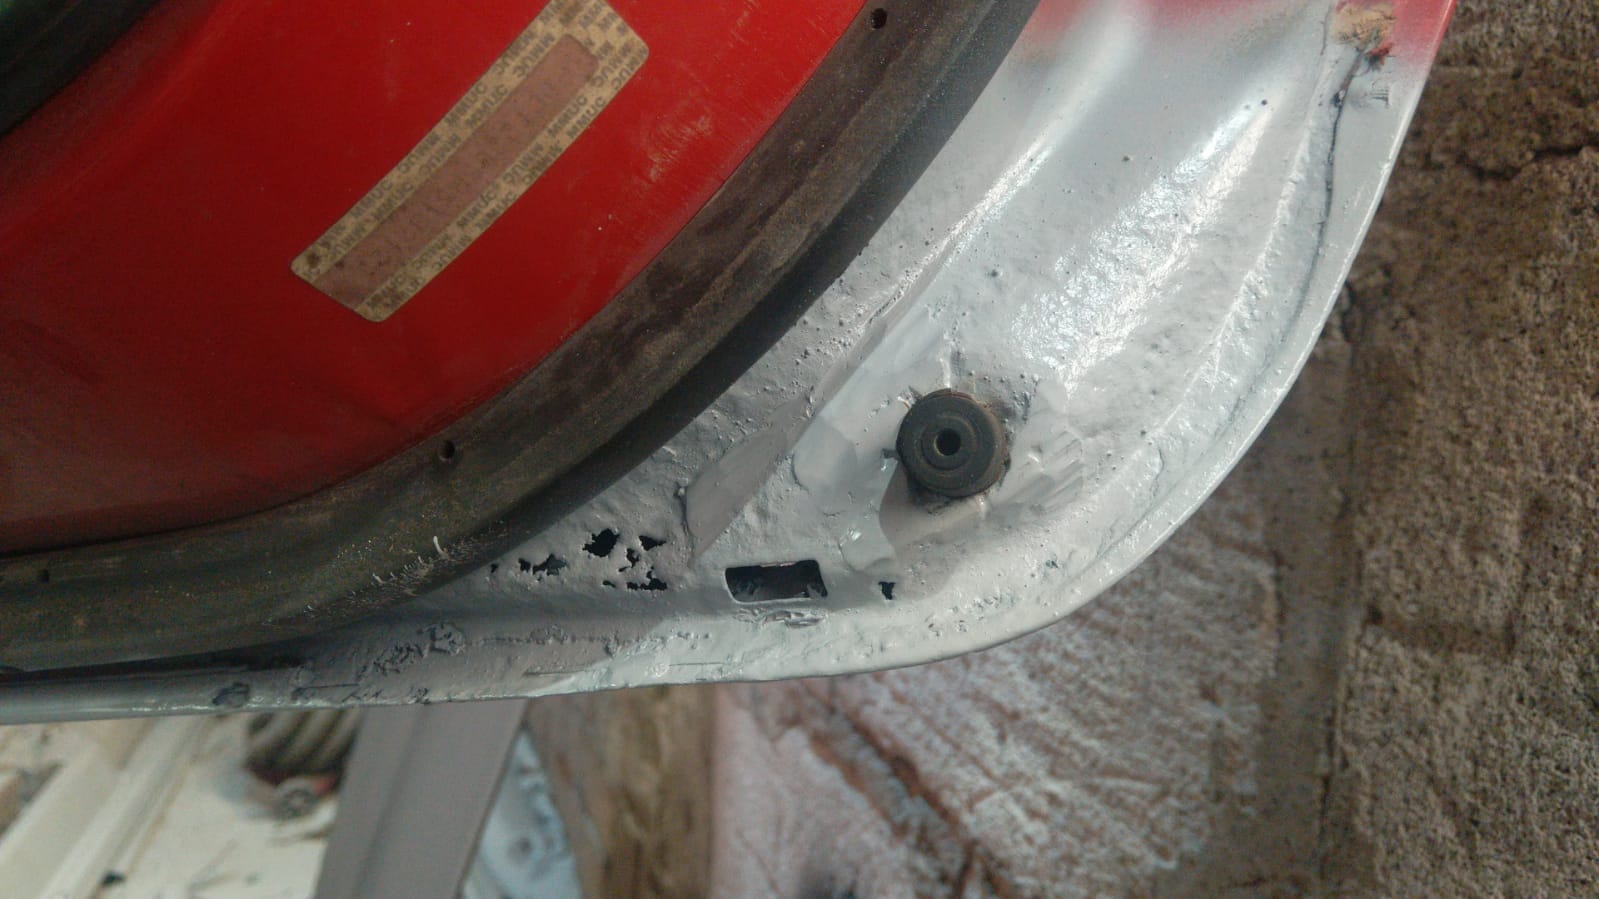
To fully repair everything, the welder needed to remove the fuel tank, along with the fuel filler neck. As you can see from the pictures, it was in rough shape. All the small tubing was rusted away.

My first idea was—well, I could try to buy a new one and replace it. However, I wasn’t able to find a new one in any local shops. In fact, I couldn’t find it in any store. So, the next option was to look for a used one and… as you can guess—unsuccessfully. Every used one I found had the same issues. I decided to try restoring the old one myself, but then I thought I should try searching for Mazda 626 parts, and… BINGO! I found a similar one—or at least, it looked like the same part. Because it cost me only around $50, I decided to buy it and figure something out. At worst, I could use some of the parts to repair the old one.

With the filler neck problem at least temporarily solved until the new part arrived, I turned my attention to the doors. The welder had mentioned they were also rusted and sent me a couple of pictures.
After seeing the state of the doors, I decided to replace them. Fortunately, this part was much easier to handle. After a couple of calls, I found replacement doors for a total of €40. The new doors were in excellent condition, so at least this was a straightforward fix.
With the door and filler neck problems out of the way, the welder continued his work while I kept searching for other parts. A couple of days later, I received pictures of the finished welding work. Here’s what the welder accomplished:
Sandblasted the entire car bottom.
Repaired holes and all rusted parts inside and outside the car.
Primed all the spots he repaired.
Coated the entire underside with an anti-rust prevention layer.
So, ladies and gentlemen, take a look at the final result of Cherry Reborn.


WHATS NEXT?
At this point, a significant amount of work has been done—crucial work that allows me to start rebuilding the car further. Right now, the car looks… worse. Worse than before. But from this point on, things should only get better and nicer. Let’s update the plan a bit:
Find a skilled welder to fix all the rust issues(we have structural rust—yay!). (It's finally done…)Replace doors.
Replace the filler neck.
Deep-clean the fuel tank.
Replace the insulation foam around the blower and heater core.
Re-insulate all the damaged wiring. (Already in progress.)
Remove the sound insulation from the floor. (Next thing for me to do.)
Reinstall soundproof insulation after welding.
Replace the heater and A/C evaporator. (Next thing for me to do.)
Clean everything.
Deep-clean and restore the carpet.
Deep-clean and restore the seats.
Fix the cracked dashboard.
Consider installing a sound system.
Restore all plastic trims (everything is damaged).
Deep-clean the car ceiling.
I’ve added a couple of tasks to the list, but my next objective is to replace the evaporator and heater core. Once those tasks are complete, I can begin assembling the car’s interior and finally see some results. In the meantime, I’ll start cleaning up all the dust and sand left behind after the sandblasting.
Finance
So a lot of things were bought, and the money pit was opened at its fullest:
CAR: 400 EUR
HAYNES MANUAL: 23EUR
DOORS: 40EUR
WELDING WORKS: 1500EU
STEERING WHEEL: 20EUR
FUEL FILLER NECK: 37EUR
TOTAL SPENT: 2020 EUR
My goal is still the same - Go for a ride next summer (2025).
Hello! Good work on your Probe so far! I'm happy to see new people trying to bring Probes back on the road. I'm restoring one myself, I live in Bulgaria. Here you can find my articles about it - https://uk.motor1.com/search/?q=ford+probe.
You can contact me if you want advice or anything else. I'd be happy to chat through email or Facebook.
Keep up the good work!